
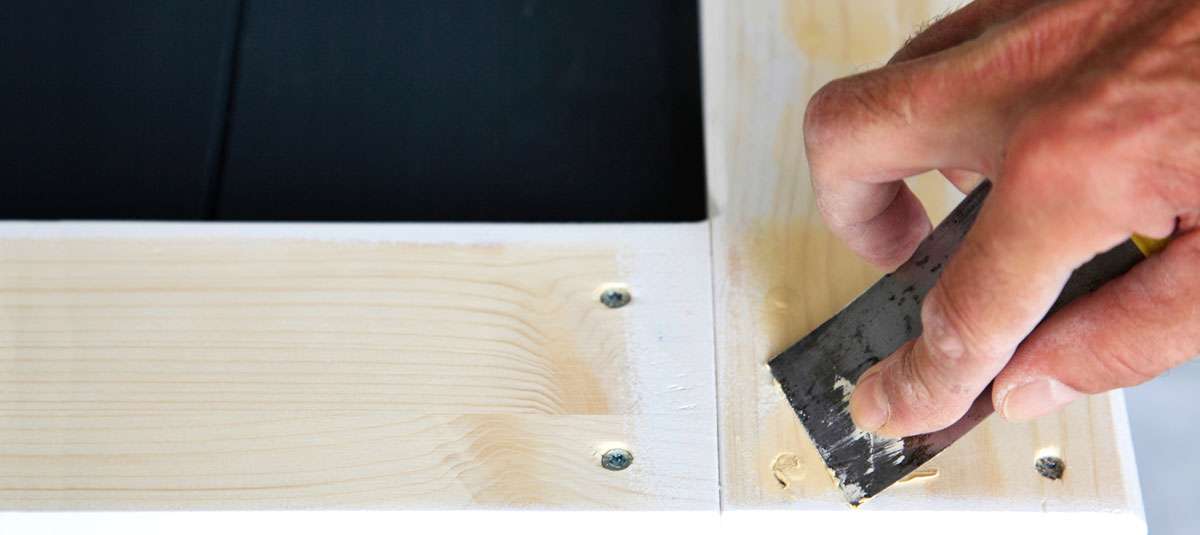
Using Wood Filler Before Your Paint Project
If you’re getting ready to dive into a new paint project involving wood, you’ve probably heard about wood filler. But what exactly is it, and why should you care? Think of wood filler as the magic ingredient that can take your wood projects from good to great.
Whether you’re sprucing up an old dresser or tackling some exterior woodwork around the house, it’s important to know how and when to use wood filler. Luckily, our paint experts are here to help. Let’s dive in!
Why Use Wood Filler?
Wood filler is incredibly handy for fixing up and restoring wood surfaces. It can fill in cracks, holes, and imperfections, creating a smooth and even surface ready for painting. Without this step, those minor blemishes can become glaring flaws once the paint is applied.
Here are some reasons why you should consider using wood filler in your next project:
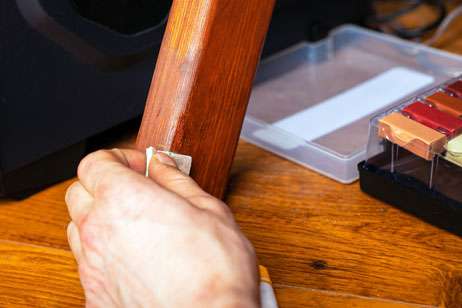
- Smooths Out Imperfections: Fills in cracks, holes, and dents in wood surfaces.
- Enhances Durability: Reinforces weak spots, making your woodwork more durable and long-lasting.
- Boosts Appearance: Hides blemishes and defects, giving you a seamless, pro-looking finish.
- Versatile Application: Suitable for a wide range of wood projects, from indoor furniture to decks to exterior trim.
- Easy to Use: Simple to apply and sand, making it a great option for both beginners and seasoned DIYers.
How to Use It
Now, let’s get to the nitty gritty. You know you’re going to use filler in your next project, and you want to make sure you do it right! Here’s what to do.
Preparing Your Surface
Before you slap on the filler, make sure your wood surface is prepped right. Start by cleaning the wood to remove any dirt, dust, or loose debris. For larger holes or cracks, use a putty knife to remove any loose wood or old filler. Sand the area lightly to create a smooth surface for your filler to adhere to.
Do you need to strip paint off wood as part of the prep process? Check out our guide on how to do this.
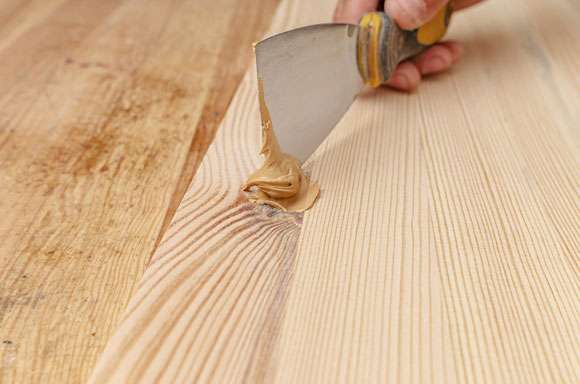
Applying Wood Filler
Once you’ve prepped your surface, it’s time to apply the filler. Using a putty knife or a similar tool, press the filler into the crack or hole. Be sure to overfill slightly, as wood filler tends to shrink as it dries.
After it dries, sand the area again until it’s smooth and flush with the surrounding wood. Now, your wood surface is ready for priming and painting.
Comparing Wood Filler Types
Not sure which type of filler is right for you? With so many options on the market, it can be a little confusing. Let’s compare the three main types to help you decide which is best for your project:
Wood Filler Caulk
This is perfect for filling gaps and cracks where you need flexibility. It’s great for outdoor wood projects since it can expand and contract with the weather. This makes it ideal for outdoor applications, such as deck wood filler or exterior wood filler work.
The application is straightforward – it comes in a tube and is applied with a caulking gun. Once you’ve applied it, smooth it out with a putty knife and allow it to dry before painting.
Wood Filler Putty
This option is thicker and more malleable than caulk, and is great for filling deeper holes and larger cracks. Putty is often used for interior wood projects, like furniture repairs or indoor trim work.
It’s easy to work with and can be shaped and molded to fit the area you’re working on. Simply knead the putty until it’s soft, press it into the hole, and smooth it out. Once it hardens, you can sand and paint over it.
Liquid Wood Filler
Liquid filler is a thinner, more fluid option that’s ideal for filling fine cracks and small holes. It gets into cracks better than putty or caulk, making for an easy fix in those hard-to-reach areas.
This type is especially good for detailed woodwork where you need to be precise. Apply it with a brush or a small applicator, allow it to dry, and then sand it smooth. Liquid filler is versatile and works well for both interior and exterior wood projects.
Tips for Using Wood Filler
Feeling nervous about your latest DIY project? We know wou want that piece of furniture or deck to look like it was done by a pro, not like it was your first rodeo. Using wood filler might seem tricky at first, but you’ll get the hang of it in no time with these tips.
- Choose the Right Filler: Match the filler type to the specific needs of your project. For instance, liquid filler is a great choice for intricate projects that require a deeper level of precision.
- Work in Layers: For deeper holes, apply the filler in layers, allowing each layer to dry before adding the next. This helps prevent cracking and ensures a solid repair.
- Sand Smooth: Sanding is crucial for achieving a clean finish. Start with a coarser grit and finish with a finer grit to make sure your surface is smooth and ready for paint.
- Prime Before Painting: After sanding, throw on a primer to make sure the paint sticks well to the filled spots. This will also help you get a uniform color and finish in your final product.
- Be Patient: Allow the wood filler to dry completely before sanding and painting. Rushing the process can lead to a less-than-perfect finish.
- Keep It Clean: Clean your tools immediately after use to prevent the filler from hardening on them. A clean tool makes for a smoother application next time.
- Practice Makes Perfect: If you’re new to using wood filler, practice on a scrap piece of wood first to get a feel for how it applies and dries.
Start Your Next Paint Project at Da Kine Paints in Maui
Whether you’re tackling an exterior wood filler project or fixing up an indoor piece, the right filler can make all the difference. Now that you have a better understanding of how to use fillers, you can achieve polished, professional results.
So, the next time you embark on a wood project, remember the importance of filler!
Looking for quality products and expert advice? Visit Da Kine Paints for all your paint needs or shop our expansive online collection. Our friendly and knowledgeable staff are here to help you find the perfect paint products to make your project shine.